Routing to Walls
Once a wall configuration has been created and saved in the Wall Setup Tab, it is stored on DisplayNet Server and becomes available as a destination in the Video Layer of the Routing Tab. Sources can be routed to walls in the same manner as other destination devices.
Since a wall is a group of individual DisplayNet Destination devices, there are no unique device settings for a wall.
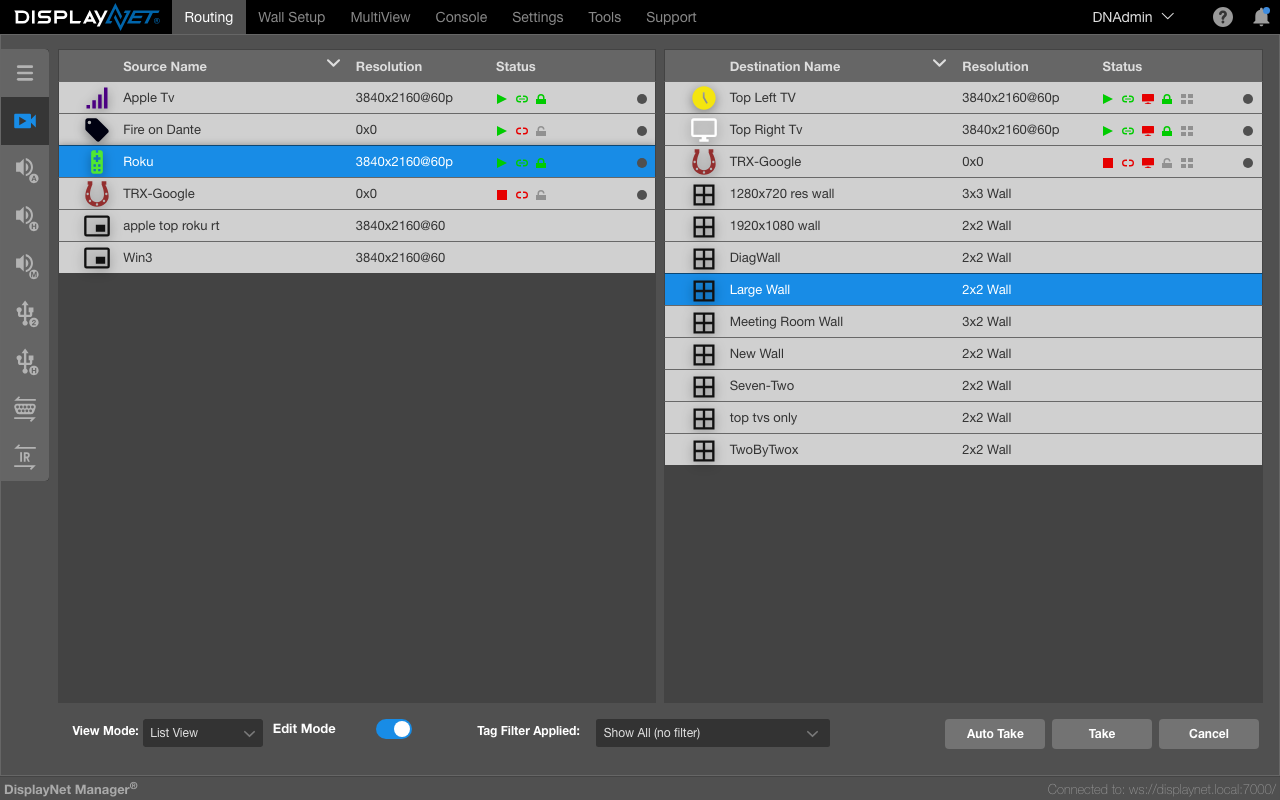
The appearance and behavior of saved wall configuration rows differ slightly from other destination rows. In the Routing Tab, saved Wall rows only contain three elements: a generic wall Device Icon (used for all saved walls), the assigned name of the wall, and the number of configured wall displays in the resolution field.
Wall rows only appear in the Video Routing Layer.
Routing Video to a Wall
While in the Video Routing Layer of the Routing Tab to route video to a wall, ensure that DisplayNet Manager is in Edit Mode. Next, click the desired Source row and then click on the wall’s Destination row. It will turn light blue, indicating that it has been selected. Finally, click the Take button and the routing will be performed. The Wall Grid Status Icon on every Destination assigned to the wall will appear green indicating that the destination is a member of an active video wall.
Routing the source transmitter named "Roku" to the wall named "Large Wall" will cause the "Roku" source to be displayed across the "Large Wall"'s displays defined in its wall configuration.
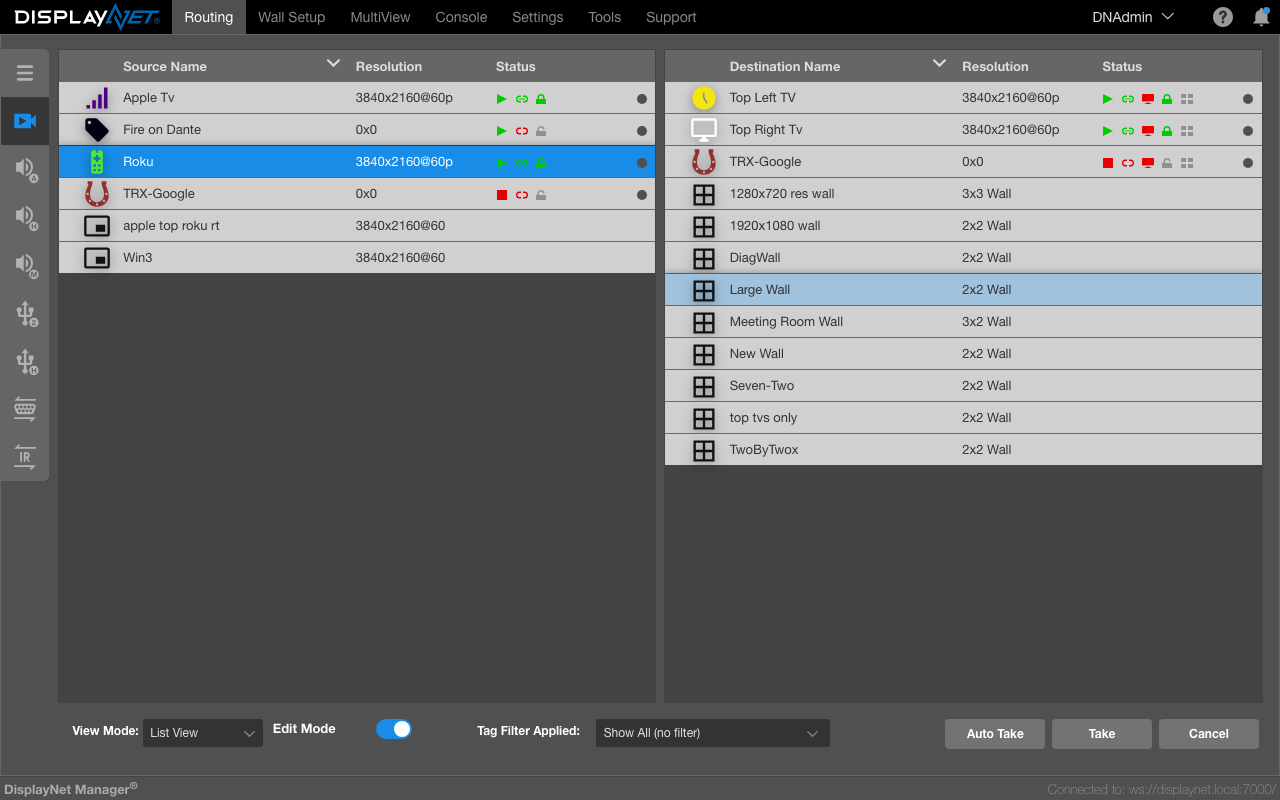
After a source has been switched to a wall, it is possible to click on the source row and view which destinations are actively part of the wall (they will be highlighted blue). Unlike a normal Device Row, the wall row itself will not be highlighted. It is not possible to click on a wall row to view which source it is connected to. However, you can view the destination devices that are part of the wall by navigating to the desired wall configuration in the Wall Setup Tab.