
Setup Wizard
The setup wizard is used to configure the DisplayNet server and DisplayNet devices. The setup wizard is launched automatically when DisplayNet Manager is started for the first time.
Welcome Screen
Initially, the welcome screen is displayed which contains version information.
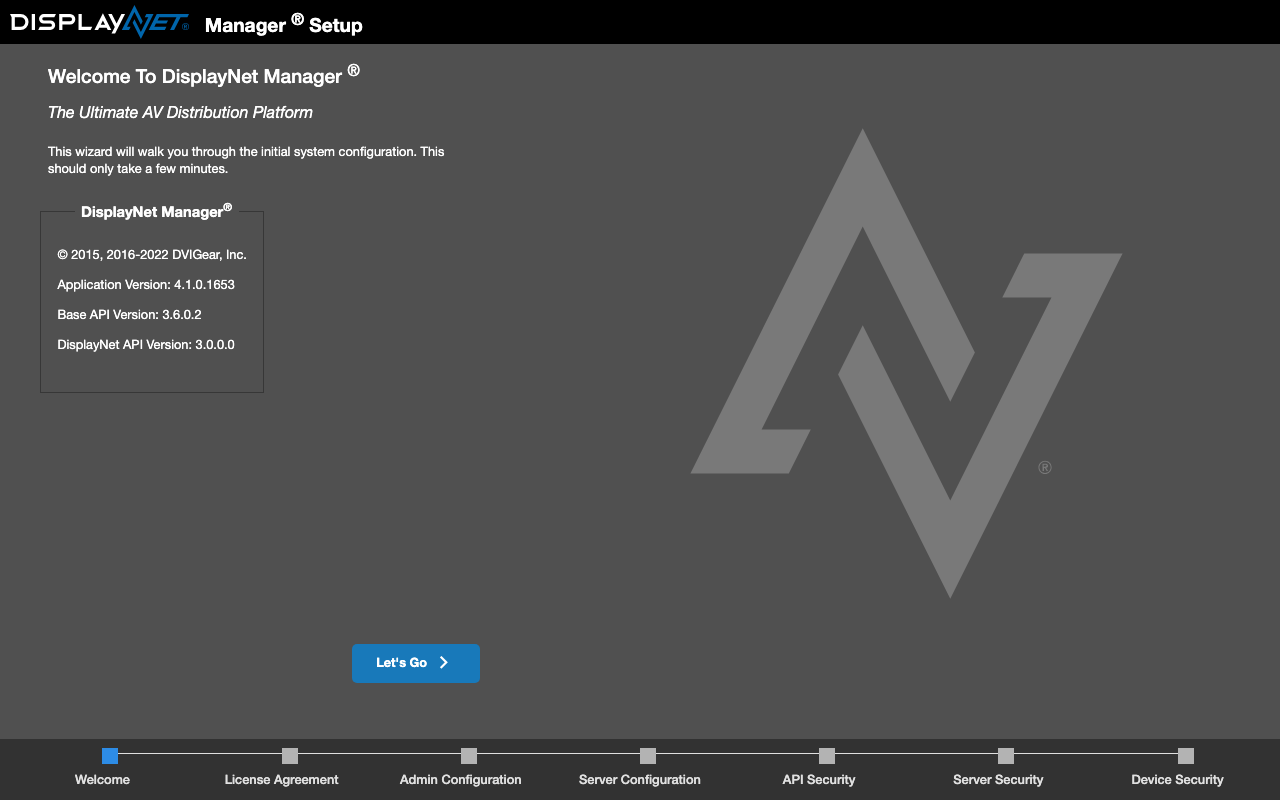
Clicking on the "Next" button will display the license agreement.
License Agreement
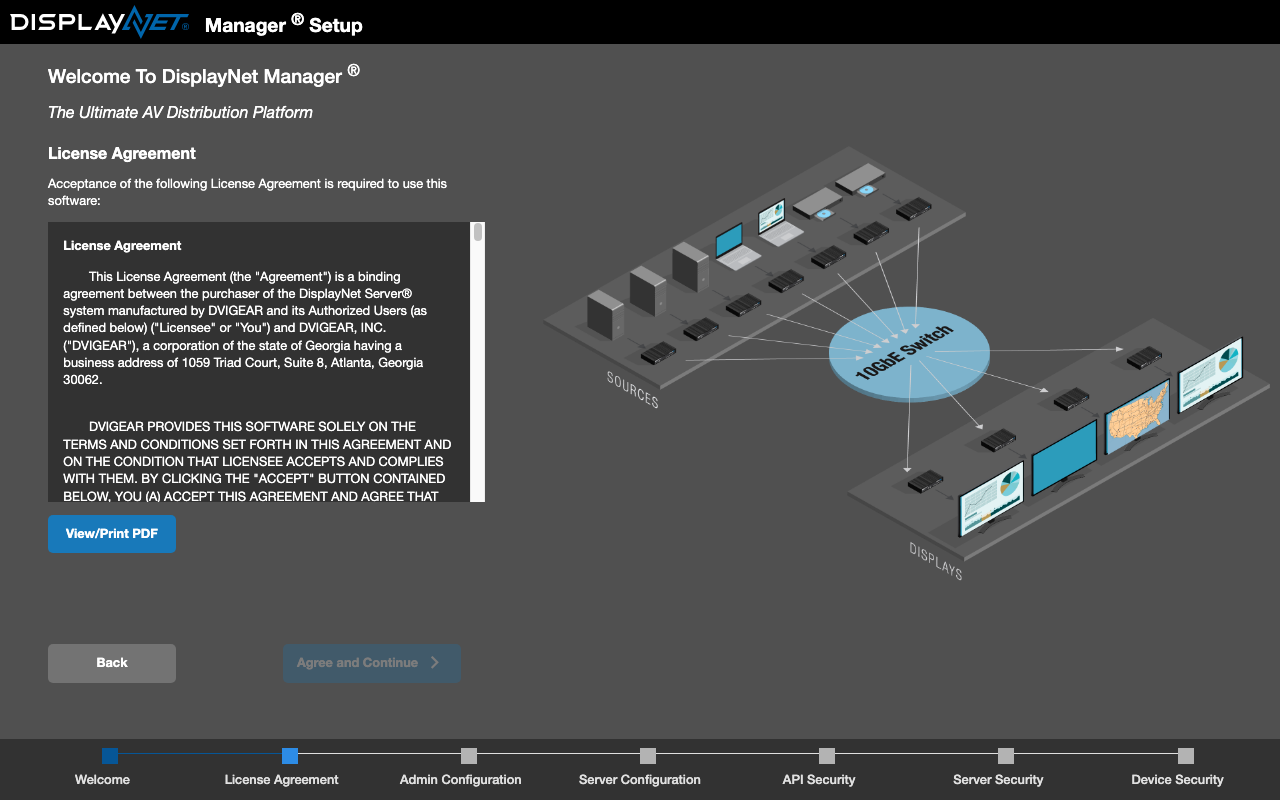
You must accept the license agreement to continue. To accept the license agreement, click on the "Agree and Continue" button. The "Agree and Continue" button will be enabled once you have scrolled down to the bottom of the license agreement.
Admin Configuration
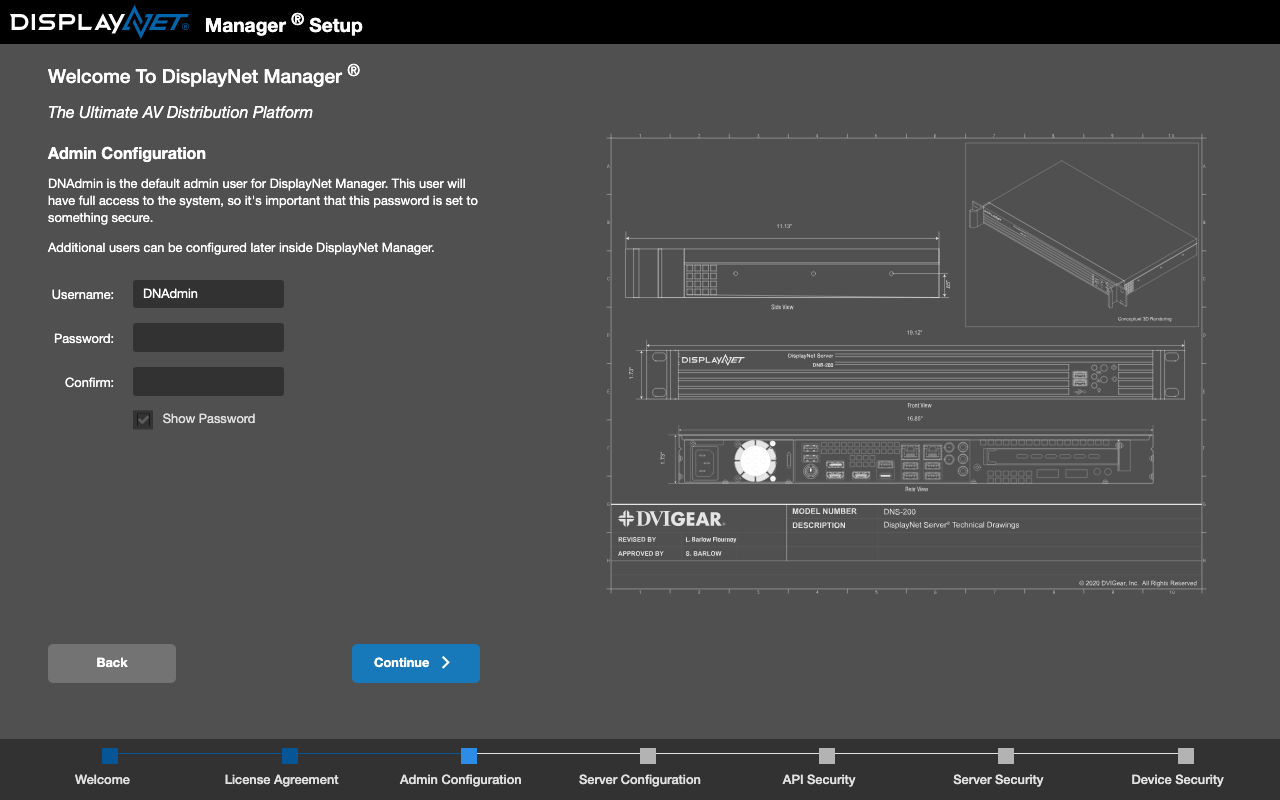
Next, the setup wizard will add the admin user. You will need to enter a username and password for the admin user before proceeding. Admin users can manage the advanced DisplayNet Server settings which are hidden and inaccessible to non-admin users.
Save the admin username and password in a secure location.
Server Configuration
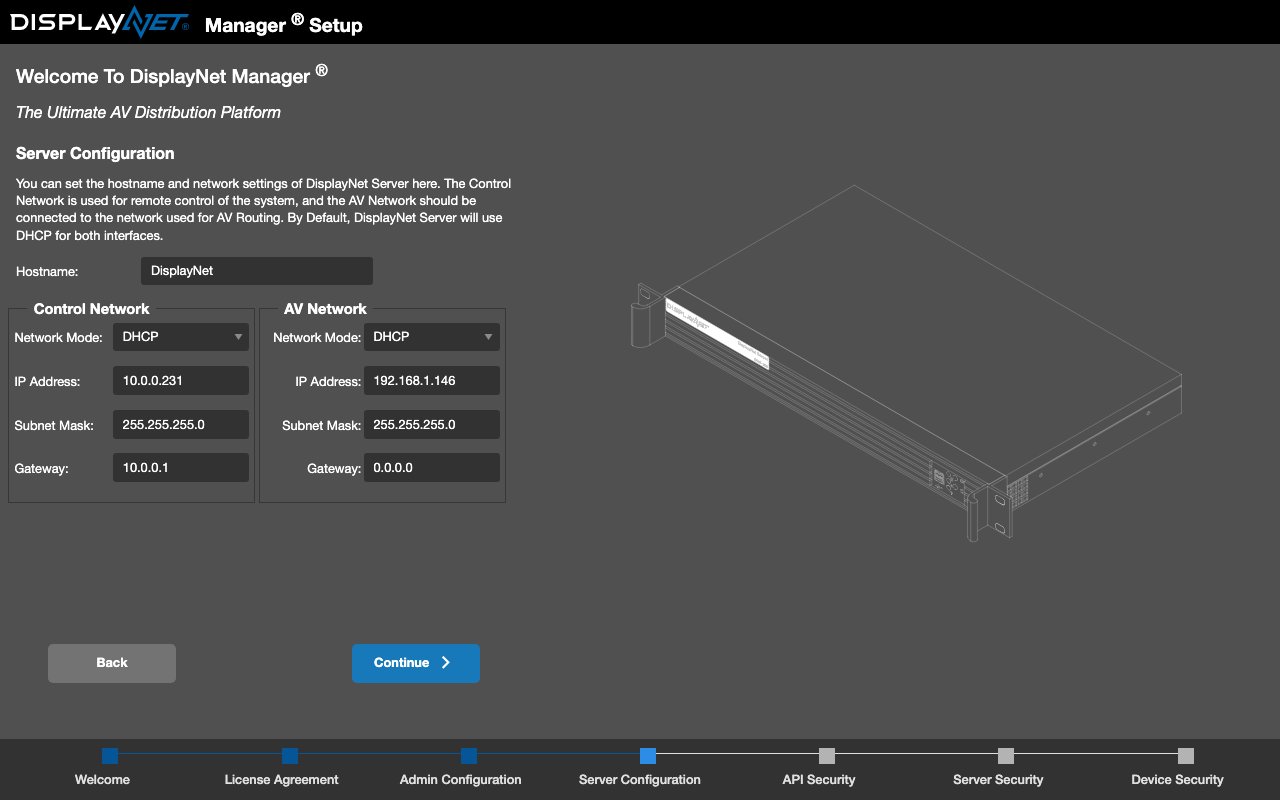
Next, the setup wizard will configure the server's network settings. The AV Network is used for sending and receiving AV signals, and the Control Network is used for sending and receiving control signals from the DisplayNet API server. DHCP is enabled by default and is recommended for most users. If DHCP is disabled, the IP address, subnet mask, and gateway must be manually configured. The hostname can also be changed to a custom name.
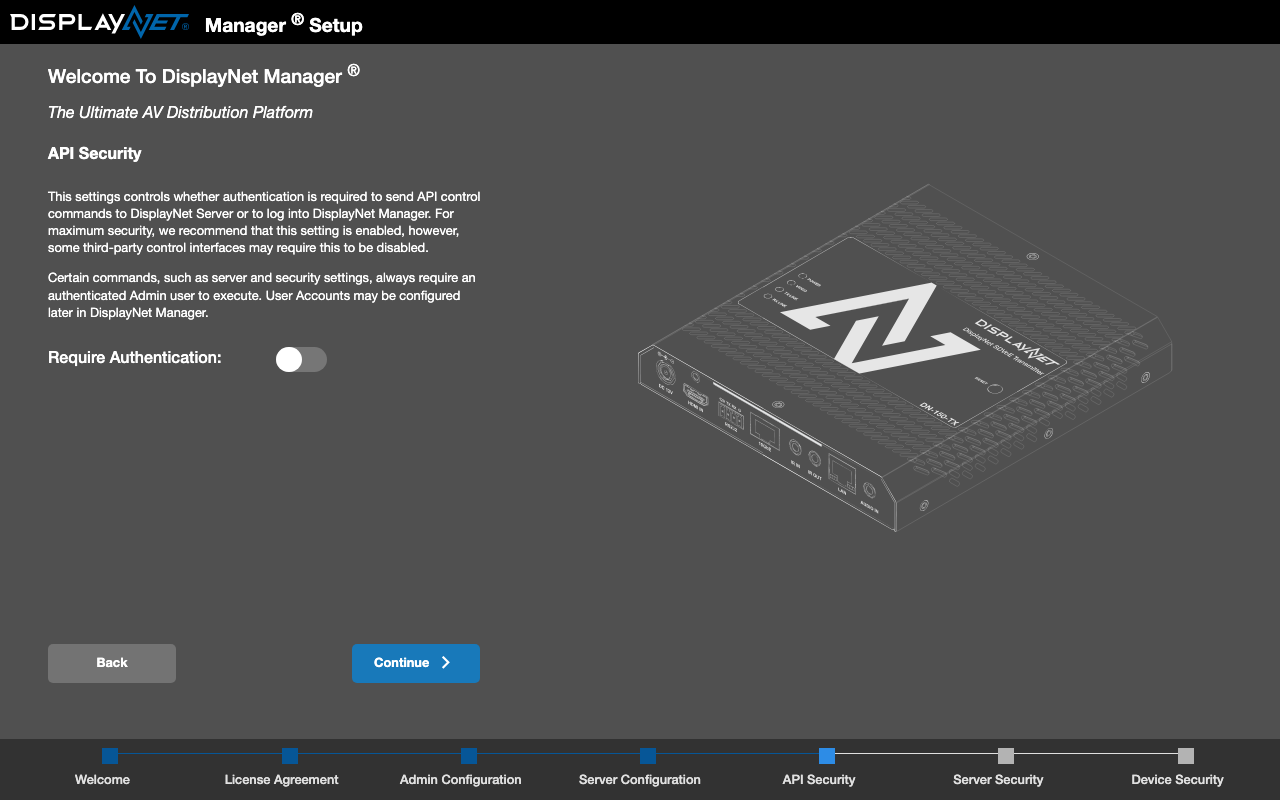
API Security
Choosing the "Require Authentication" option, requires all users are authenticated before they can access the DisplayNet Server API as well as DisplayNet Manager.
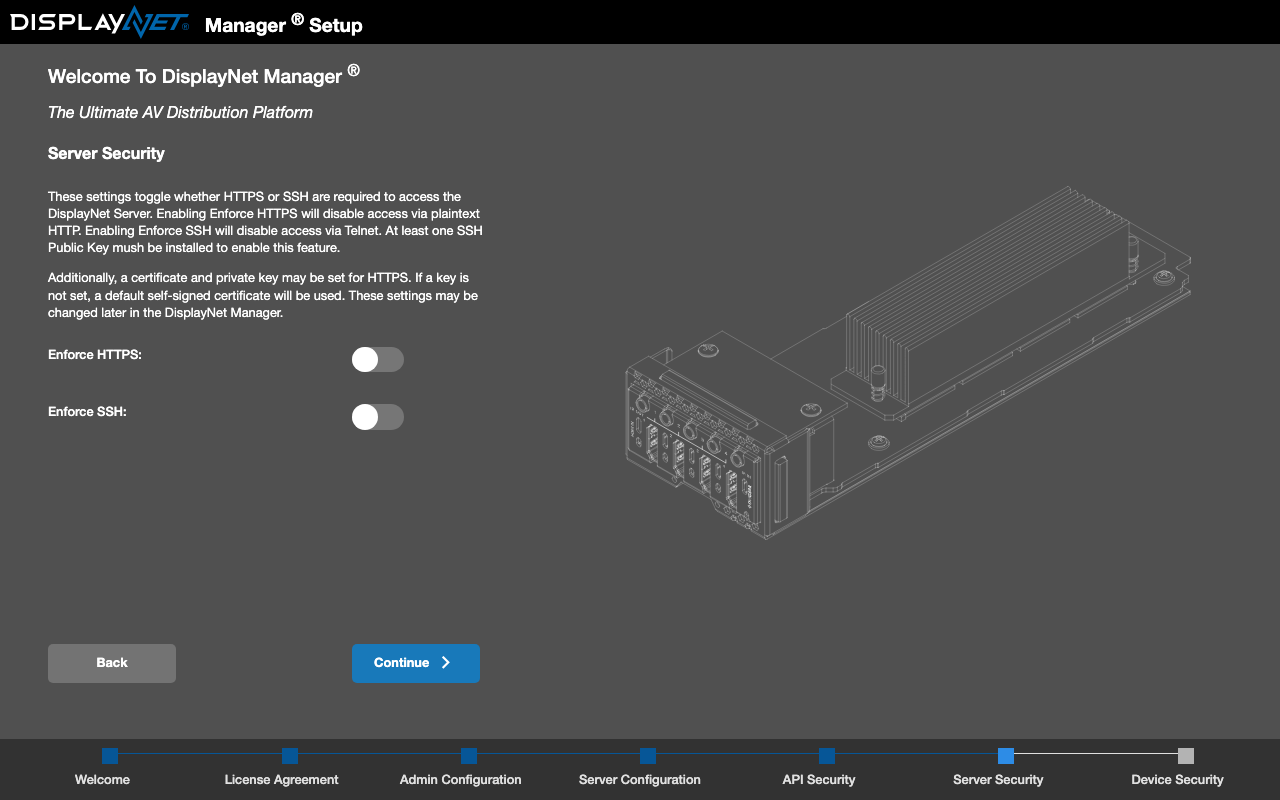
Server Security
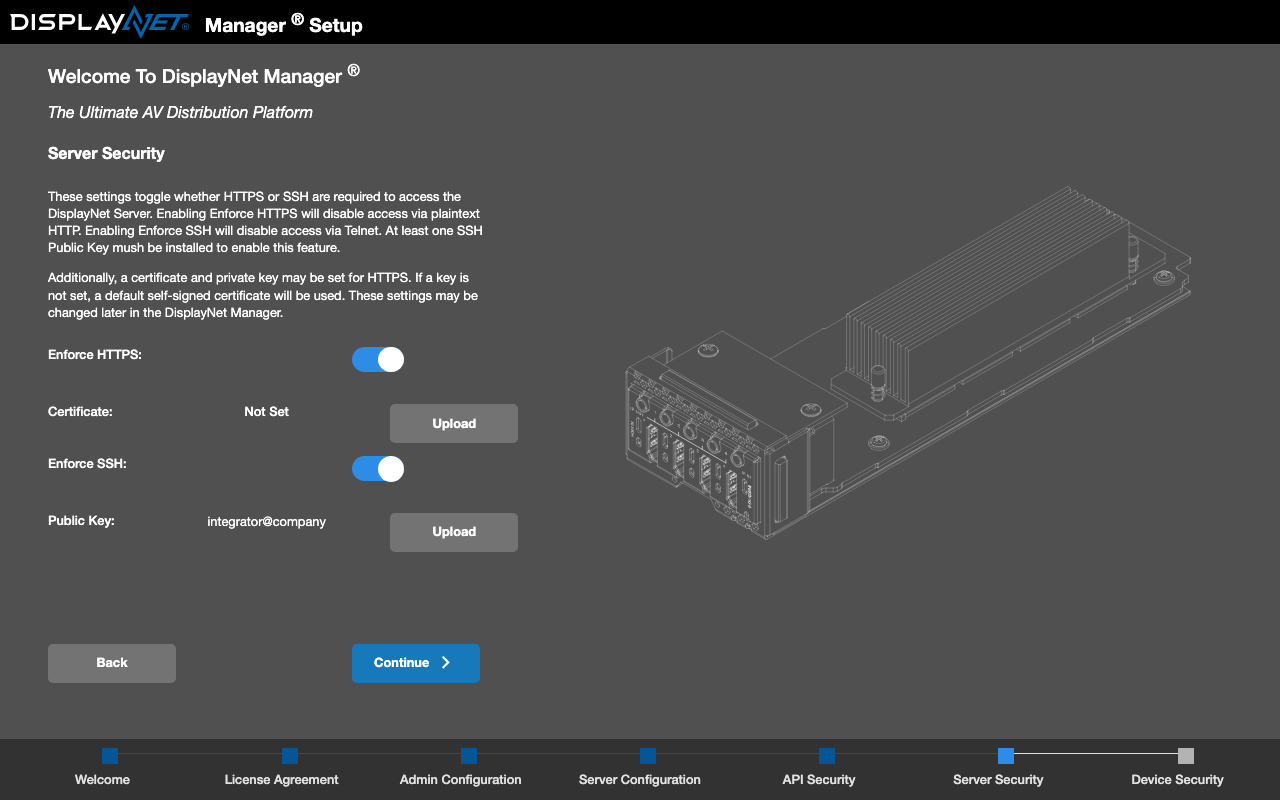
The "Enforcing HTTPS" option, ensures all communication between DisplayNet Manager and the DisplayNet API server is encrypted. The "Enforce SSH" will ensure that all communication between the DisplayNet Server and the DisplayNet API server is encrypted.
To upload a SSL certificate, click on the "Upload Certificate" button.
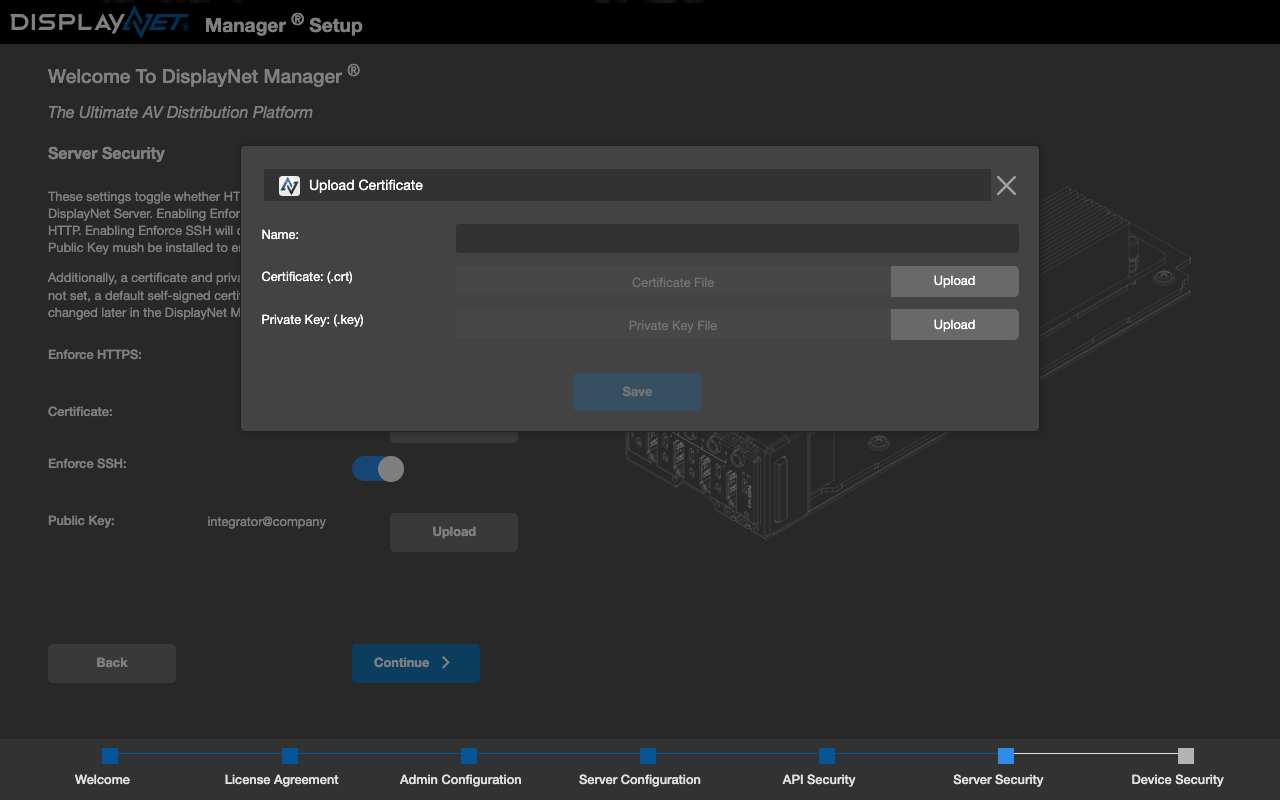
This will open the following modal dialog to select the certificate file from your local file system.
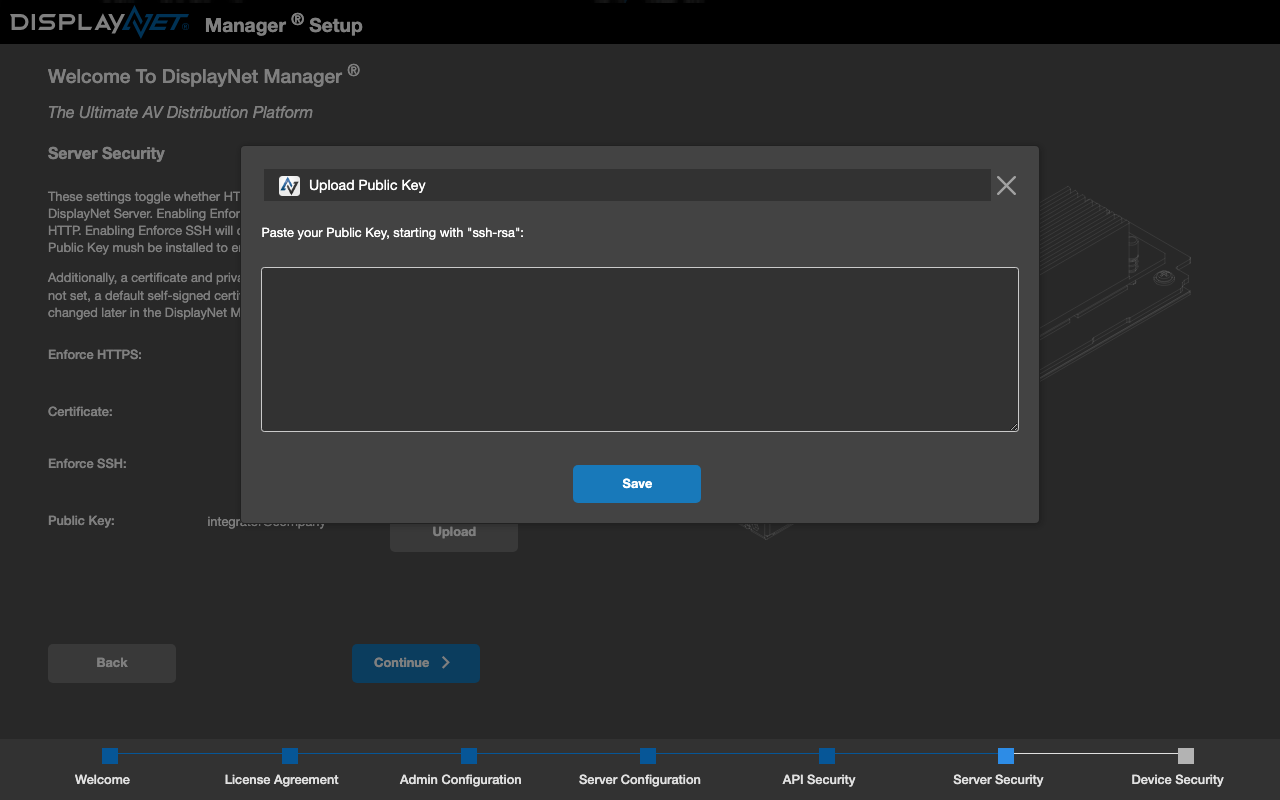
To upload a public key, click on the "Upload Public Key" button to open the following modal dialog which allows you to paste the public key and apply it to your server by clicking the "Save" button.
Device Security
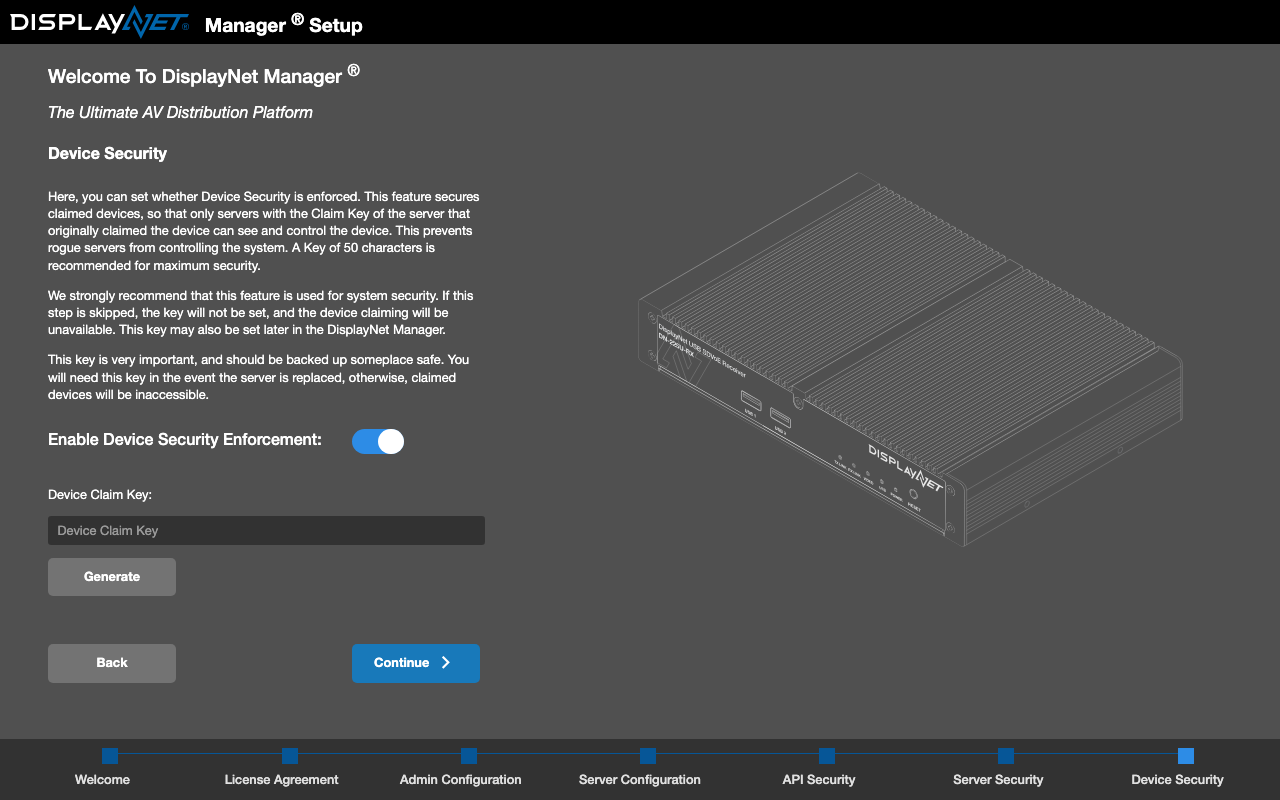
Enabling the Device Security Enforcement option prevents unauthorized access and control of devices over the network by using claim key security to prevent rogue servers from controlling the DisplayNet devices. Once you turn on the "Enable Device Security Enforcement" the "Generate" button is used to create a claim key. Click "Continue" to proceed to the next step in the setup wizard or "Back" to return to the previous step in the setup wizard.
Setup Complete
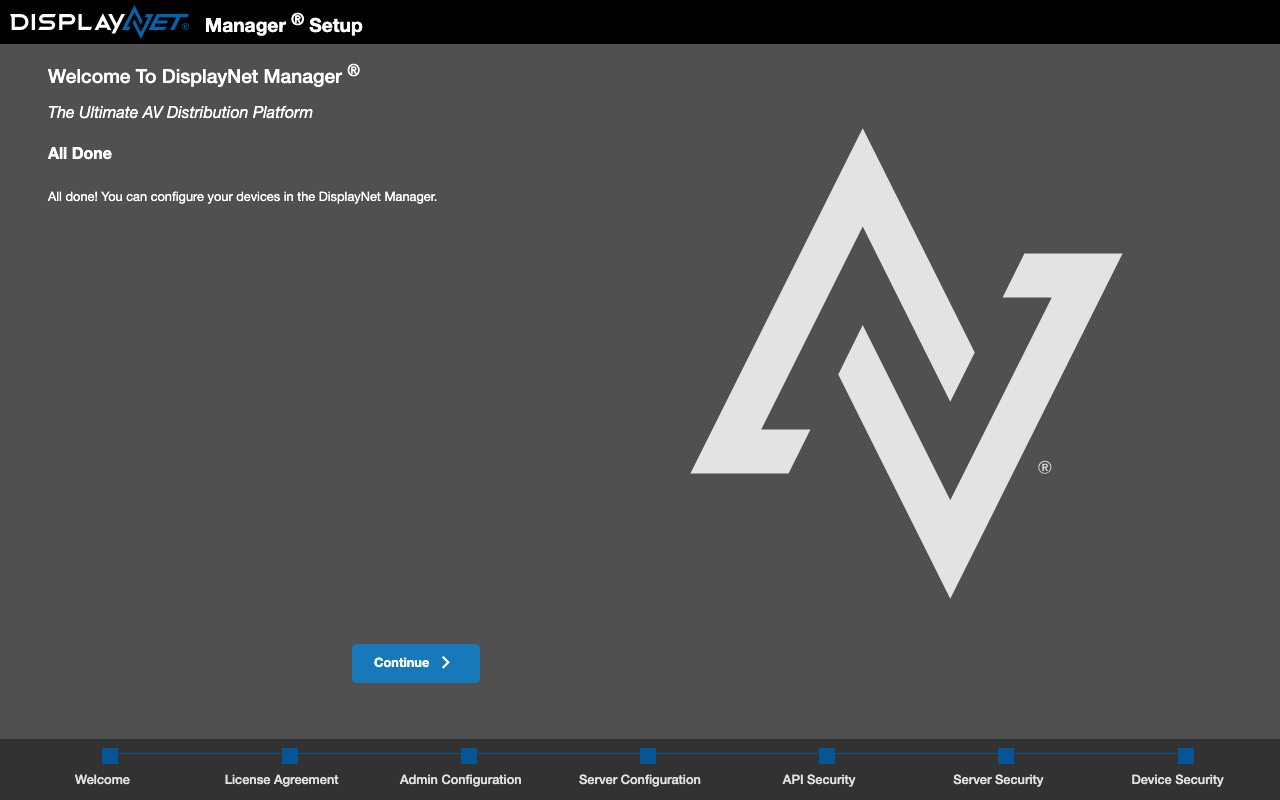
The setup wizard is now complete, and DisplayNet Manager is ready to use. Click the "Continue" button to launch DisplayNet Manager.
Next Steps
After completing the Setup Wizard, you'll be ready to connect to your DisplayNet Server and choose between DisplayNet Controller (end user interface) and DisplayNet Manager (administrator/integrator interface). See Connecting to the Server for details on accessing your system and selecting the appropriate interface for your needs.